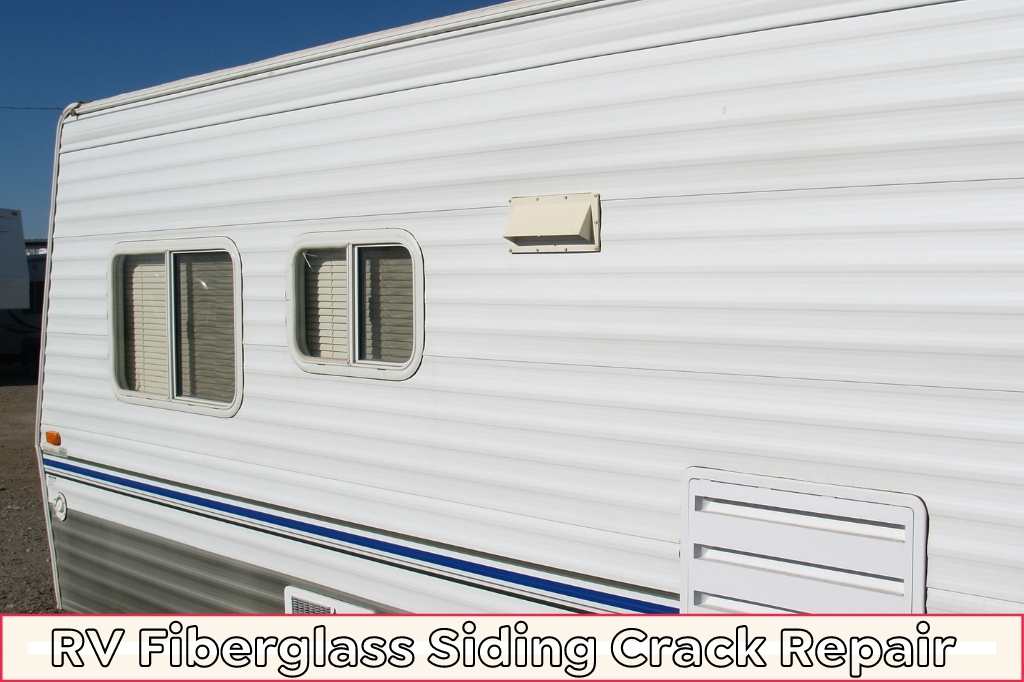
An RV can change your camping experience. It’s the best way to enjoy a gateway from everyday life, whether you are doing it yourself or with loved ones. But when your precious RV gets a crack or more on it, that can give you stress, and it can spread over time. And I’m talking about both your stress and your RV crack.
The crack can be of two types:
- Structure crack
- Gel coat crack or surface crack
While fixing a surface crack is easier, setting a structure crack takes a bit more effort. And today, I’ll explain how you can fix RV fiberglass crack.
Is It Necessary To Know How To Fix RV Fiberglass Cracks?
Let’s say it first: RV is home for many people. It is home in every way a home can be to someone. We face lots of issues at our house that we can fix by ourselves. It can be the same thing with your RV.
And when a crack happens, most RV owners run directly to repair shops. But why go to a repair shop for something that you can do by yourself, only if you know what type of cracks they are.
If you know how to fix it, it saves you some extra trouble of going to the repair shop, and it also holds some bucks. That’s why I believe knowing a few different things is necessary for your RV fiberglass crack repair.
Follow These Steps!
RV Fiberglass Siding Crack Repair:
As a beginner, you don’t need to worry about not being a pro. Just follow the instructions and get started to repair that crack, even if you are a beginner.

Step 1: Wear Protective Gears
Repairing fiberglass will require you to sand the fiberglass surface. That would lead to debris and dust flying everywhere. That’s why you need to wear protective gear like eye protection, a mask, and gloves.
Step 2: Drill The Crack
Use a drill machine to make two tiny holes at both ends of the fiberglass crack. Drilling will allow you to fill the gap with resin. It will also prevent the damage from extending more.
Step 3: Clean Up The Area
Once you are done drilling the ends, it’s time to clean up the area properly. Use a dry cloth with Acetone and wipe the surface until it’s spotless. If the site is not cleaned correctly, the resin won’t set well.
Step 4: Sand The Area
The next step is to sand the area. Sand it around, and then clean the area again with a dry rag. It will remove the dust created by sanding.
Step 5: Prepare The Resin And Fiberglass Patch
Then you need to prepare the resin. You will find the instructions in the package and can mix them in a cup. You will also need to prepare a fiberglass patch or sheet. Just rip off the sheet depending on how much you will need.
But if you repair a tiny crack in the fiberglass body, you can skip the fiberglass patch. But make sure to keep a paintbrush too. You will need it to saturate the resin on the crack surface.
Step 6: Apply The Patch
Now that everything is ready, you need to put coatings of resins on the sanded cracked area using the paintbrush. After that, put the fiberglass patches on the coated side. Then put another layer of polish on the patches.
Step 7: Final Touch
It takes at least a day for the resin to dry completely. And once it’s dry, sand it again until the surface is smooth. It would then be best if you cleaned it with a dry rag to remove the ground dust.
And finally, you can paint the RV to make it shine again. And trust me, if everything goes accordingly, your RV will look as good as a new one.
Frequently Asked Questions:
Here are some of the most frequently asked questions about fiberglass crack repair:
Fiberglass can be fixed by anyone as long as you recognize the type of crack and have the necessary kits with you. Depending on the damage’s depth, you either need to fix the surface or replace the entire fiberglass skin. But if you get confused, it is better to leave things in the hand of professionals.
The fiberglass can crack due to several reasons. It can be because of the swelling of the resin, which is caused by water diffusion. The crack also happens if there are any manufacturing defects.
The fiberglass can also crack due to careless movement. The most common crack is the hairline cracks, which can grow larger over time.
You can fix weathered fiberglass using with 5 simple steps.
1.You need to clean the fiberglass with warm water and soap.
2.Wash it off using clean water. Make sure to wash off any remaining soap on the fiberglass.
3.Let it dry.
4.Then use a polishing compound to rub the fiberglass surface. It will help remove the oxidized layer. It will make the fiberglass shine.
5.Finally, you can use wax to make the shine durable.
Yes, you can use fiberglass to repair plastic. Fiberglass is a transparent material. It is also non-toxic as well as waterproof. These qualities make fiberglass ideal to bond any broken surface as long as it is appropriately scruffed.
Conclusion:
I know it looks like much work to fix your RV’s cracked fiberglass. But it can be much fun if you know how to do it. When you are improving the fiberglass on your own, it keeps your customizing options more open.
The instructions may seem a little complicated when you are a beginner. But if you go through them a few more times, you will understand the steps and feel confident enough to repair them yourself.
So, if your RV is suffering from a crack, go ahead and try your newly acquired knowledge. I believe that you will end up loving the result of your creative work.
