
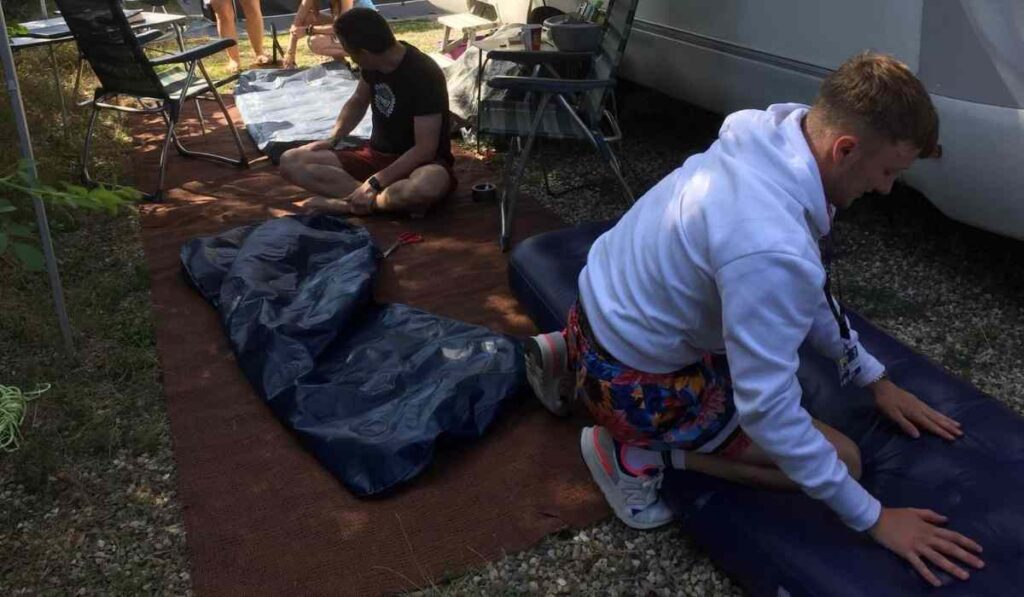
If you’ve ever slept on your air mattress, you know how inconvenient it is to go an entire night without sleeping. Mattresses that can be inflated are convenient. It may be used for camping or as an additional bed for overnight visitors.
On the other hand, even a single leak can lead it to deflate, putting you on the ground in a matter of hours. Of course, there are a variety of techniques to repair your air bed, some of which involve no equipment or prior training.
Let’s have a look at the five most practical methods for repairing one of these troublesome mattresses! We’ve provided information on how to make your fix, detect a leak, and more.
Preparations Before Fixing the Mattress:
You must first complete several procedures before repairing your air mattress using one of the options listed. Follow the tasks on the checklist to make your work simpler.
- Locate the leak-Using your hand, feel for the leak. You’ll notice a rush of air coming out of the opening if the mattress has suffered a leak. You may hear a buzzing noise of the air if you put your ear near the bed. Using a cloth, put a combination of dishwater soap all over the mattress and submerge it in water. Where a leak has been established, air bubbles will appear.
- Fully deflate the mattress-So one of the primary reasons we have to deflate our mattress prior we conduct the repair is that while the mattress is under the press, air will try to push its path out even if the adhesive in the patch is applied.
- Scrub the spot where the leak originated-Simply soak a cotton swab in rubbing alcohol and clean the affected area of the mattress. You might use mild dish soap to gently clean the holes on your mattress if they are severe.
Related Articles: 3 Best Repair Kits to Fix an air mattress
You can pick from various repair options based on your conditions once you’ve completed these first stages.
#1 DIY Patch Kit
A pool lining, PVC shower curtains, or the inner piece of a rubber bike tire may all be used to construct your patch kit at home. You’ll need to do the following to complete this DIY patch method:
- Make a patch large enough to cover the hole completely. To ensure a complete seal, put an extra inch on each side. If you discovered more than one hole, repeat the procedure for the other holes.
- Put some rubbing oil to the region with the hole to guarantee that the air mattress has a precise, uniform, and dry surface. You’ll be able to keep the patches from sliding away from the air mattress in this manner.
- Attach the shower curtain to the area of a rubber tire with a substantial amount of glue. Locate the hole and use your patch to fill it. For many minutes, firmly push the patch into the hole with your hands or a heavy item.
#2 Superglue
Super glue is one of the most excellent quick solutions for an air mattress with a hole.
- Squeeze the selected hot glue straight onto the leak’s source, ensuring no gaps.
- After the glue has been set, apply a second coat of adhesive to the patch to reinforce it.
- Then, thoroughly inflate the mattress and look for a leak.
#3 Gel Nail Polish
Use nail polish as a temporary remedy to block air from escaping from your air mattress.
- To form a coating on top of the hole, apply the polish directly to the spot.
- Wait patiently for the air mattress to dry completely, being sure not to move it during this time.
You may need to repeat the treatment once it’s dried. Up to six sheets will generally suffice to allow you to utilize your airbed once again.
#4 Hot Glue Gun
For leaks at the seam, hot glue comes in helpful. It’s far more challenging to apply a patch correctly in these places. When using hot glue to repair a leak, be sure the top of the hot glue gun does not come into contact with the plastic—it will melt.
- Cleaning the air mattress with a moist towel is the first stage (removing dust and debris).
- After that, you’ll need to get the hot glue gun ready. Remember to keep your fingers in front of the trigger when putting glue.
- You may also use a few droplets of all-purpose cleaner to speed up the glue’s drying time.
- Place a slip of paper on the front of the mattress seams and spend five minutes seeing how it dries. If you see that the glue hasn’t coated any paper area yet, you’re ready to go on.
#5 Patching a Hole with Duct Tape
Don’t panic if you get a hole in your air mattress and can’t seem to find the patch kit. Duct tape is an excellent alternative if you don’t possess a patch kit and have to mend a hole in your air mattress.
Cut a piece sufficient to fill the hole and place it on a dry, clean edge. Remember that the tape might lose its stickiness over time, so you may have to reapply a fresh piece of tape now and again.
Additional tape can be applied to the edges for a more solid finish and to keep the temporary fix in place.
How to Stop an Air Mattress from Deflating?
Because prevention is preferable to cure, here’s how to keep your air mattress from leaking and deflating.
- Don’t Overinflate It:
Overinflating the airbed is the most common cause of leaks in mattresses. Pumping too much air into an air mattress can lead the material to stretch, placing it under extreme pressure and increasing the risk of injury.
- Avoid Sitting on It:
It’s natural to want to sit on top of the mattress once it’s been set up, but this might result in heavy pressure being applied to a specific location, which can cause deflation. Furthermore, don’t jump on the bed because this might add to the stress—especially if you’re wearing garments with pointy things that can cause tears.
- Deflate for Storage:
Another recommendation is to deflate the bed after each use. While you leave it inflated when you’re not utilizing it, the air mattress is under so much pressure, which leads to tears and holes.